Today I continued working on the Photoshop CC for Photographers: Fundamentals course on Lynda.com. I watched chapters 13-15. While watching the videos I edited a few photos. The videos were mostly just describing different ways to change the colors of photos.
Before:
After:
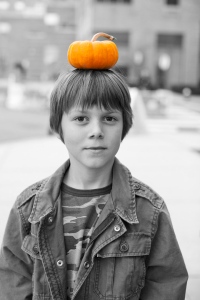
First I duplicated the background by dragging the layer to the new layer icon. Then I went to the image pull down menu, selected adjustments, then I clicked on Black and White. Then, I added a layer mask on the new layer by clicking on the new layer, then clicking on the new layer icon. I then selected my brush tool, changed my color to black and decreased my brush size. After that I simply painted over the pumpkin carefully.
Before:
After:
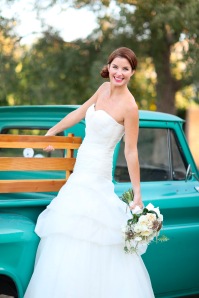
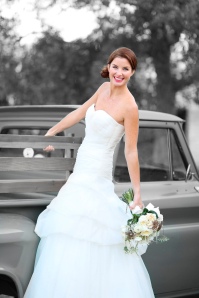
To get this effect on the photo I went to the select pull down menu, then selected focus area. This brought up a menu in which the default was auto. Auto wouldn’t work for this photo because the dress is white so I clicked on the brush on the left with the minus sign and painted over the model. I then refined the photo with refine edge. Then I went to the select pull down menu and chose inverse. This made the selected area the background instead of the model. I went over to the adjustments panel and clicked on the black and white icon.
Before:
After:
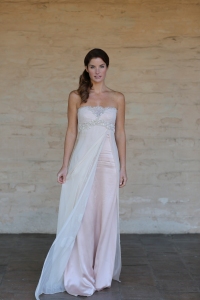
To edit this photo, I clicked on the adjustment layer named curves. I moved the curve up to brighten the photo. To invert the mask I went to the mask panel, then clicked invert. Next, I used the brush tool, changed the color to white, then painted the model and around her. To soften the brightness to look more subtle, I increased the ‘feather’ effect by moving the slider up.
Before:
After:
First I went to the adjustments layer and brought up the vibrance adjustment sliders. Then I moved both the ‘vibrance’ and ‘saturation’ sliders all the way to the right at 100%. This was a very simple edit but made a dramatic difference.
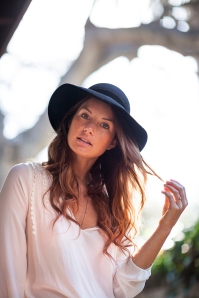
Before:
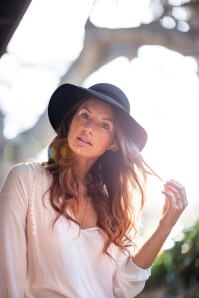
After:
For this photo I went to the Filter pull down menu chose ‘Render’ then selected ‘Lens Flare’. this opens a lens flare dialogue in which I clicked on the lens type: 50-300mm Zoom. Then I moved the flare to behind the girl close to where the sun would be. After that I changed the brightness to 147%.



I really like all of those. They look really cool!
LikeLike
Great job with your blog entry! Please add the category “Assignments” to this blog entry instead of “uncategorized”. Also, please add your work from Tuesday through Thursday to the Photoshop CC for Photographers page. Ask me for help if needed.
LikeLike